The Kitchen Scale
My first kitchen scale was a huge splurge for me. I spent over $30 on it, but I was so excited! And then, I put it in a cupboard where it took up too much space. Plus which, it was a pain in the butt to use because, since I’d bought the cheap model, it was all mechanical, required frequent calibration, and then was hard to read. In fact, about all that $30 got me was being able to say “oh yeah, I own one, it’s great!” when someone brought up food scales at a party I was at. Money well spent, there.
Thankfully, times have changed. A good kitchen scale can be found for in the neighborhood of $10 new, it will be about the size of a dime novel, and it will have a digital display with multiple units of measurement, so you can work in grams or ounces as you see fit. Is this a result of the demands of the drug trade? I’m not saying it is, but I know every pretentious friend I have has joked about me selling coke whenever they see my scale.
When searching for a decent kitchen scale, you want to make sure of just a few things:
- It can handle enough weight. Most scales today can handle about 20-25lbs, which is more than enough for most kitchen applications.
- It has settings for multiple units of measurement. You’ll want to at least be able to measure in pounds/ounces (this should be one setting, not a separate setting for pounds and one for ounces) and in grams.
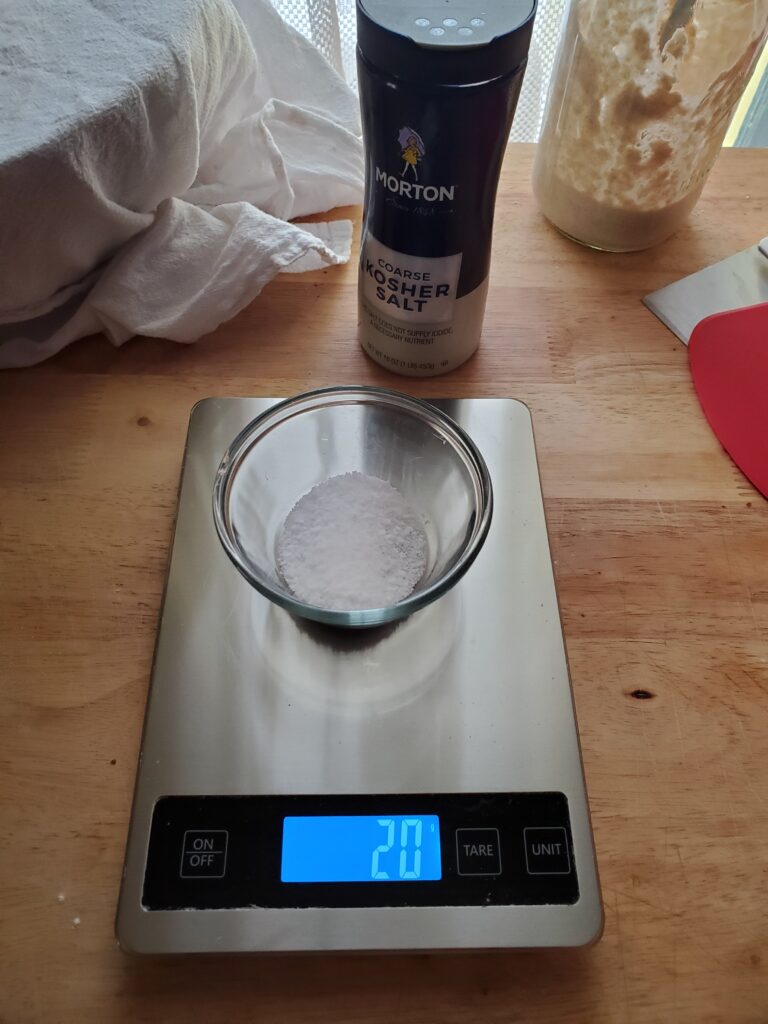
- It should have a TARE button.
The best part about my kitchen scale is that, now that I’m a little more savvy about baking, it has sped up my baking significantly! OK, if you want to look all fancy, you can measure everything out separately in pretty little bowls with your kitchen scale, OR! You can get to know your tare button.
So, let’s say you want to make some pizza dough. Well, I happen to have a pretty decent pizza dough recipe that you can make with nothing but a bowl, your scale, and a floured surface to knead on!
Credit where credit is due, this recipe is evolved from Alton Brown’s pizza dough recipe. For the original, go here. While Mr. Brown’s recipe is delightful when you have access to a stand mixer, I’ve found it massively frustrating to reproduce by hand as it just gets too damn dense when kneading. To remedy this, I’ve increased the starting hydration level to about 70% so incorporating additional flour is no longer a concern. Translation: I upped the water so you can use more flour when you’re kneading without ruining the dough. I also made the yeast measurement a bit more universal. This can make it a bit slower to rise, and you can bring it up to 10 grams if you like, but MAN does it bug me when a recipe calls for just slightly more yeast than is in a standard yeast packet! It’s great if you’re buying by the jar, but some people just want to use a yeast packet, Alton! Come on, man!
Your basic pizza dough
Ingredients (don’t measure beforehand
- 690 grams flour
- 1 packet or 7 grams yeast
- 15 grams sugar
- 20 grams salt
- 480 grams water
- 15 grams oil (olive if you can, others will still make a great pizza crust)
- Put a large mixing bowl on your scale and power it on. If it displays any weight, press the TARE button to zero it out (Ooooo! Aaaaah!). Make sure you are set to grams as measurement (should read “0g”). Measure in 690 grams of flour.
- Hit the TARE button. Oh, holy crap! It zeroed out! Now you can add 7 grams of yeast! Keep going like this, hitting TARE again after each ingredient.
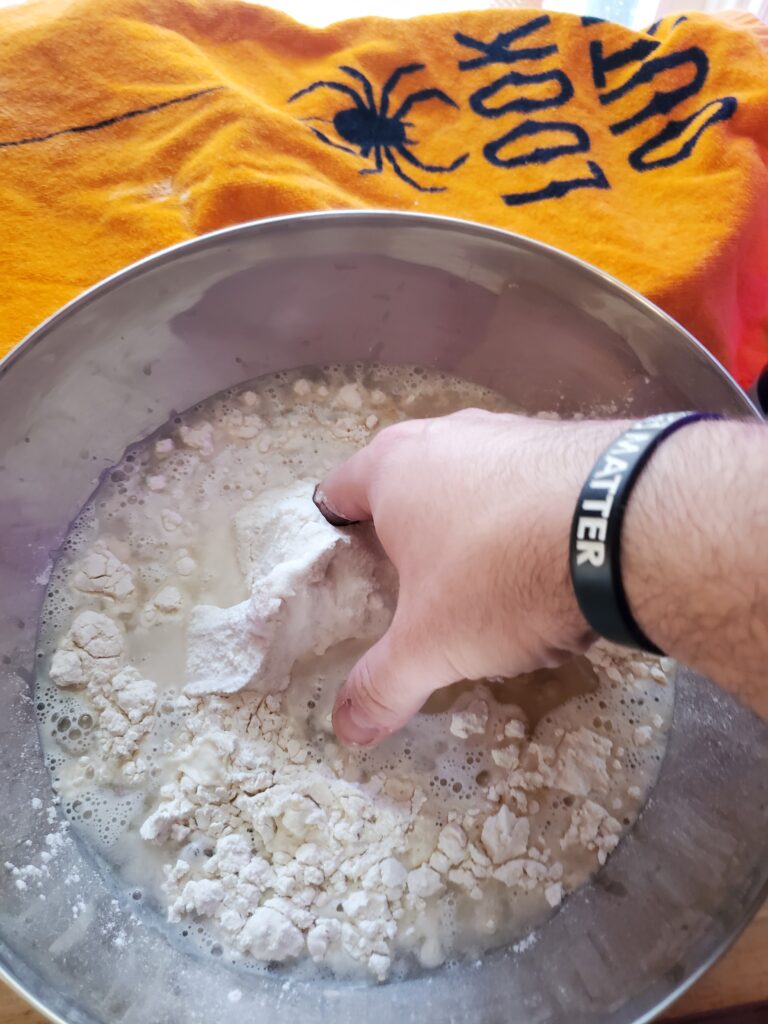
- Mix it in the bowl. If you have a spoon or other mixing device, I recommend using that at first until your dough is pretty well mixed.
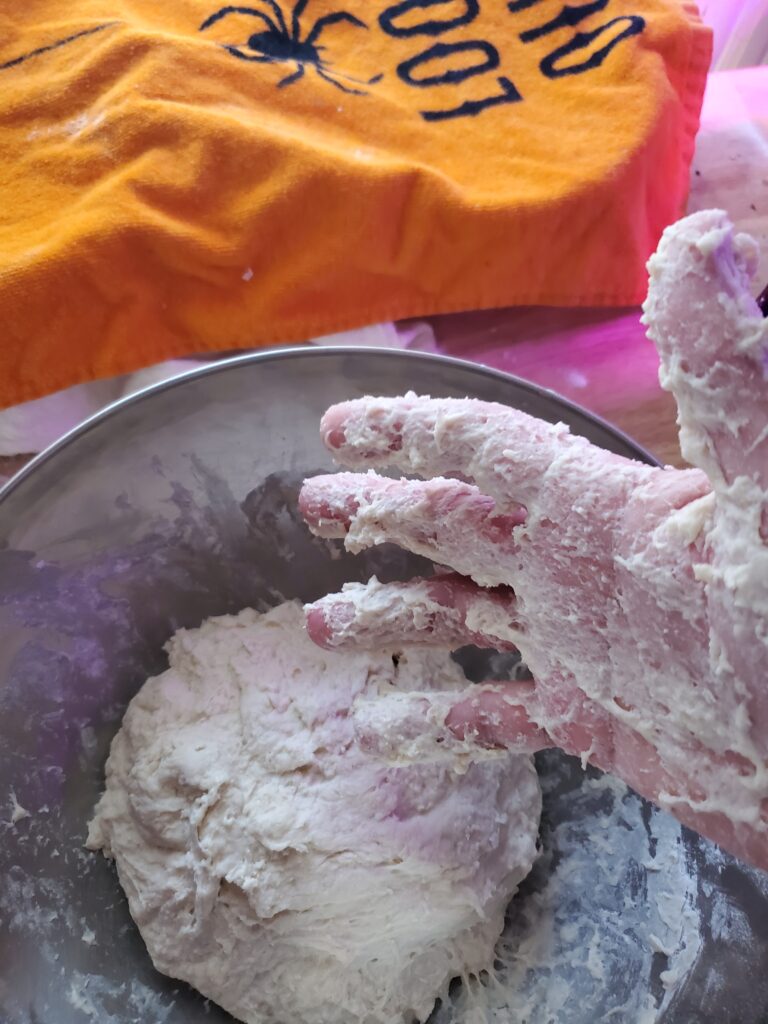
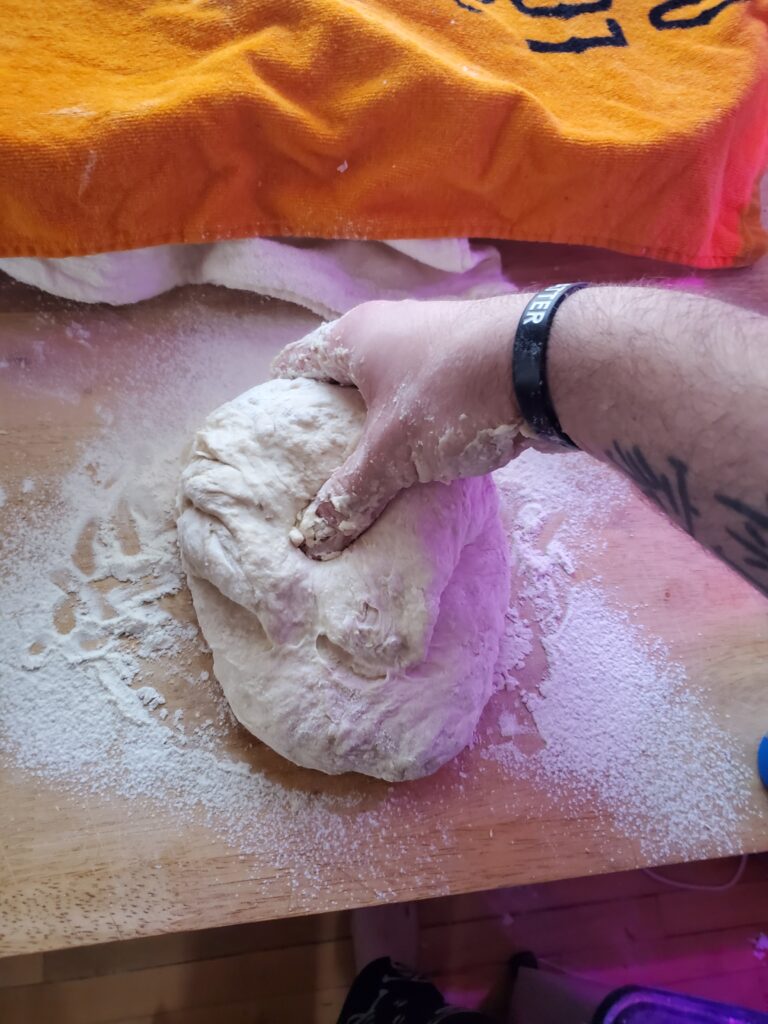
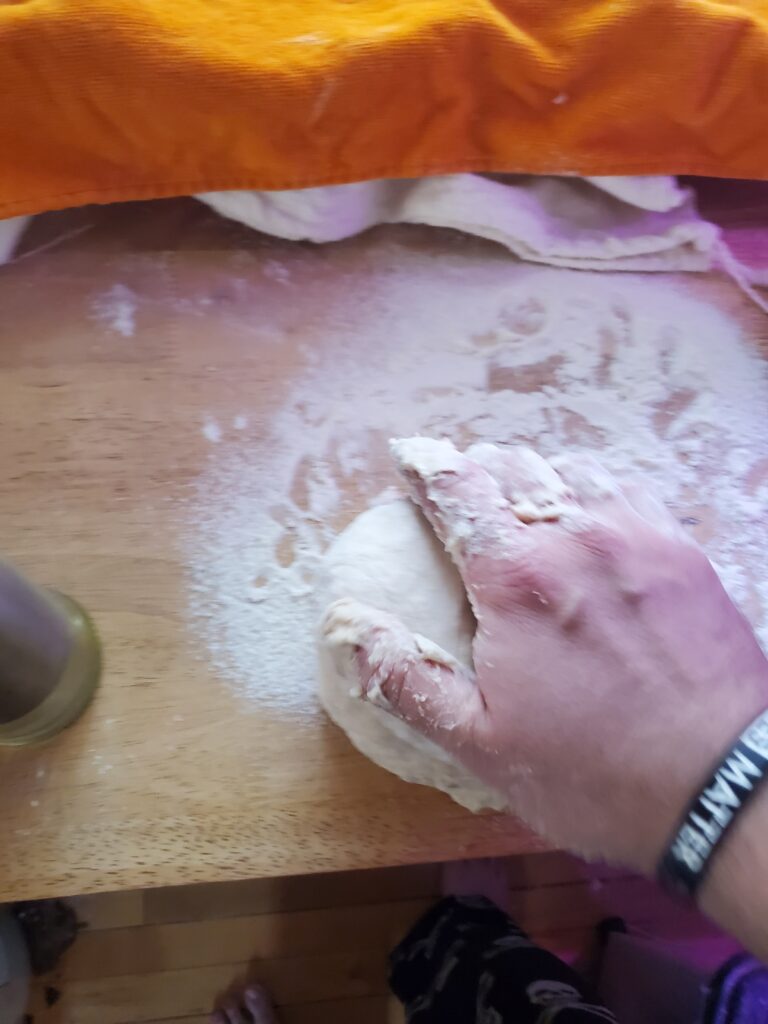
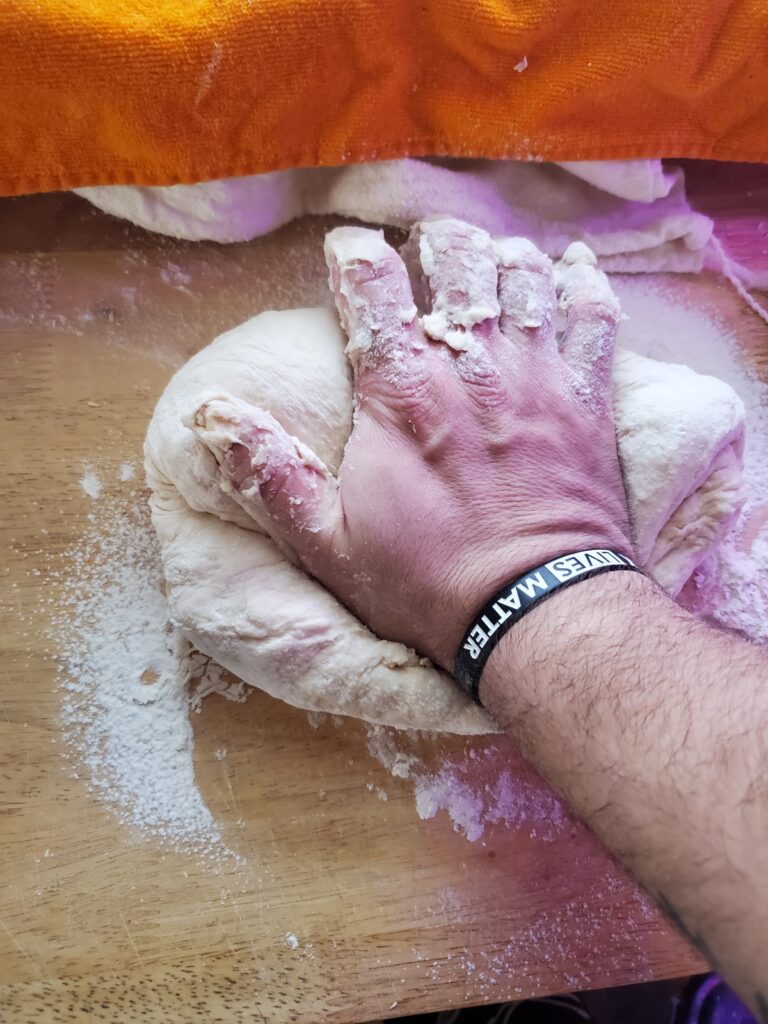
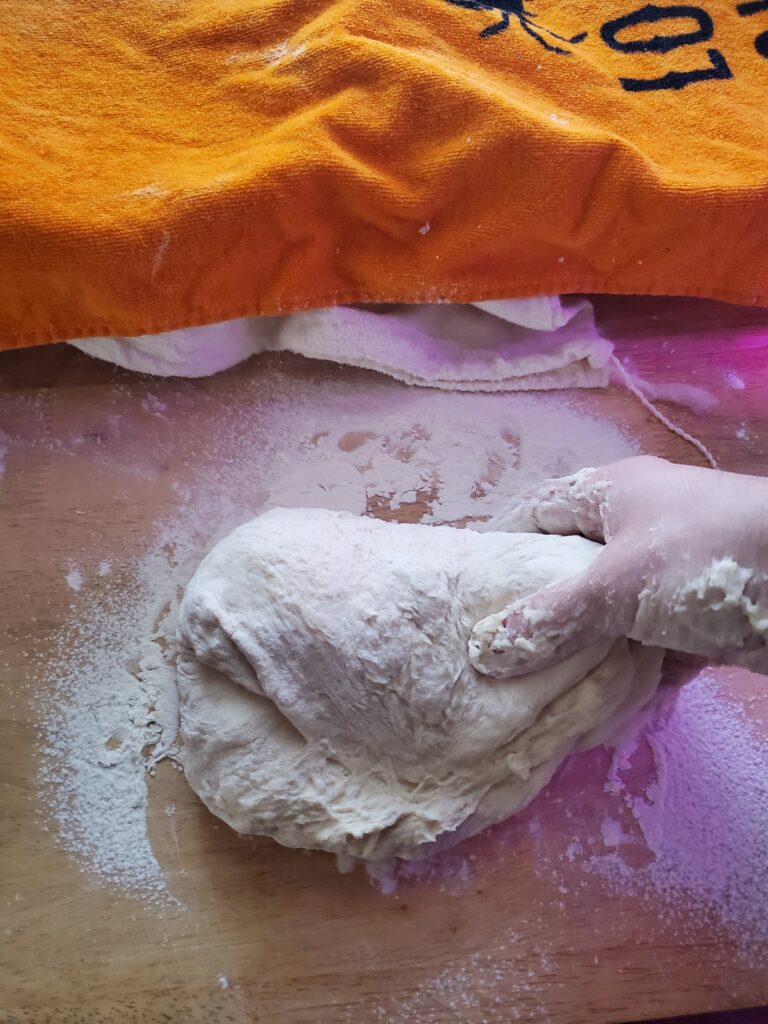
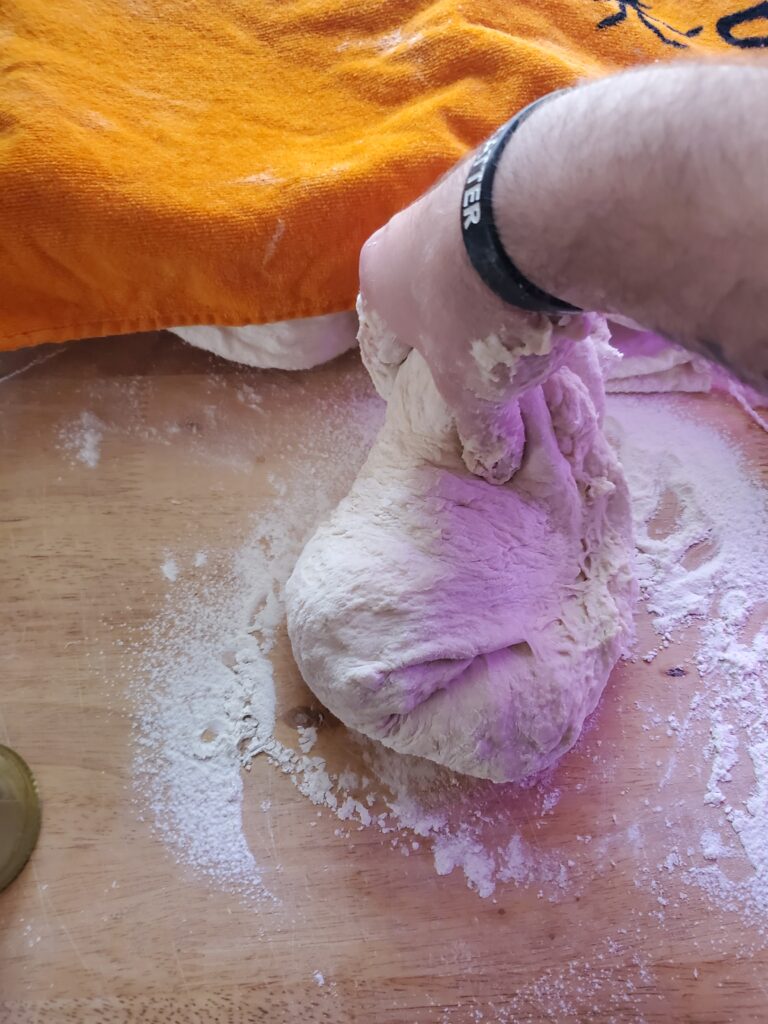
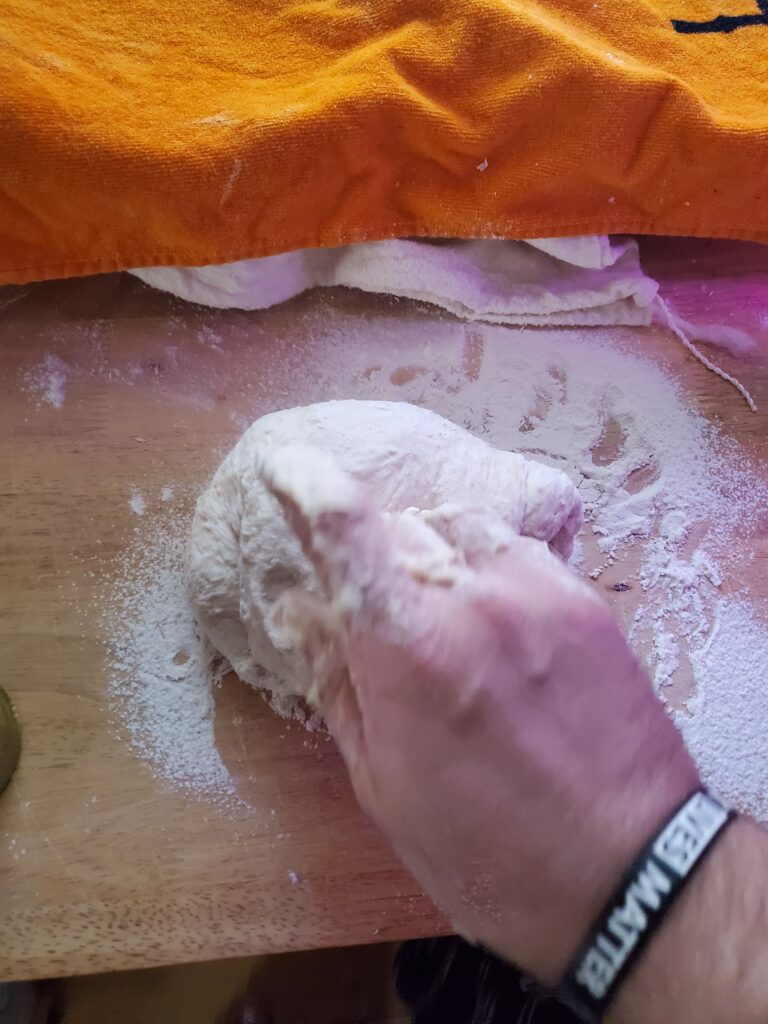
- Once the dough is a cohesive lump, dump it out onto a floured work surface and start kneading (WITH CLEAN HANDS!). My personal technique is stretch, fold, press, turn, but you do you!
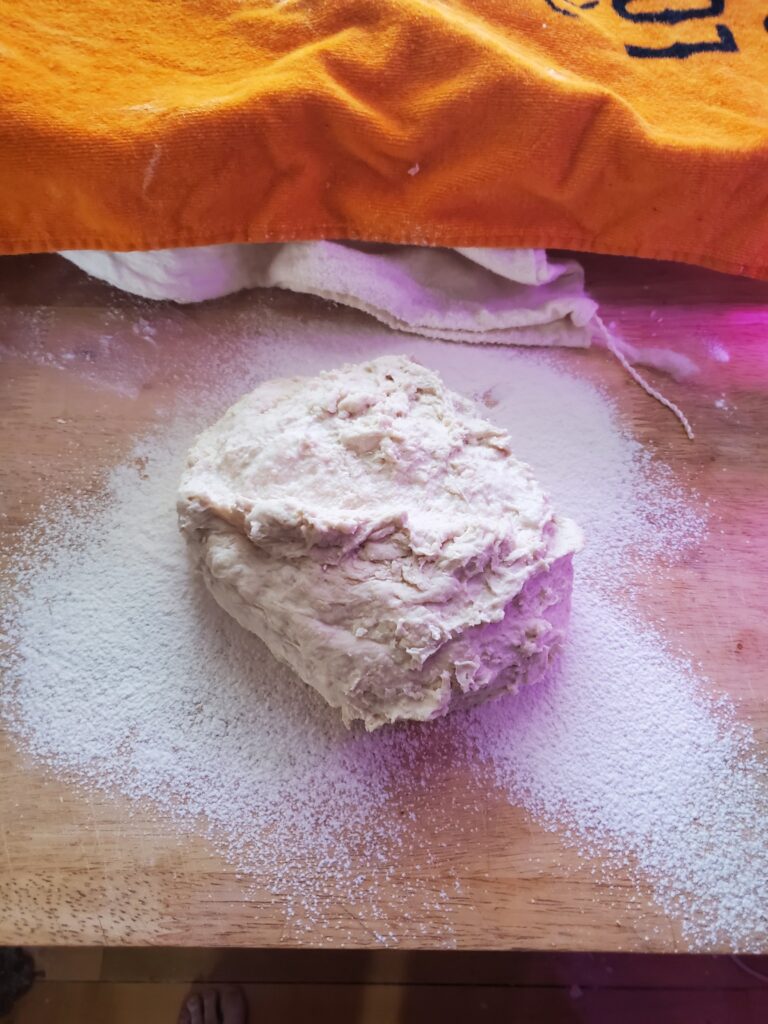
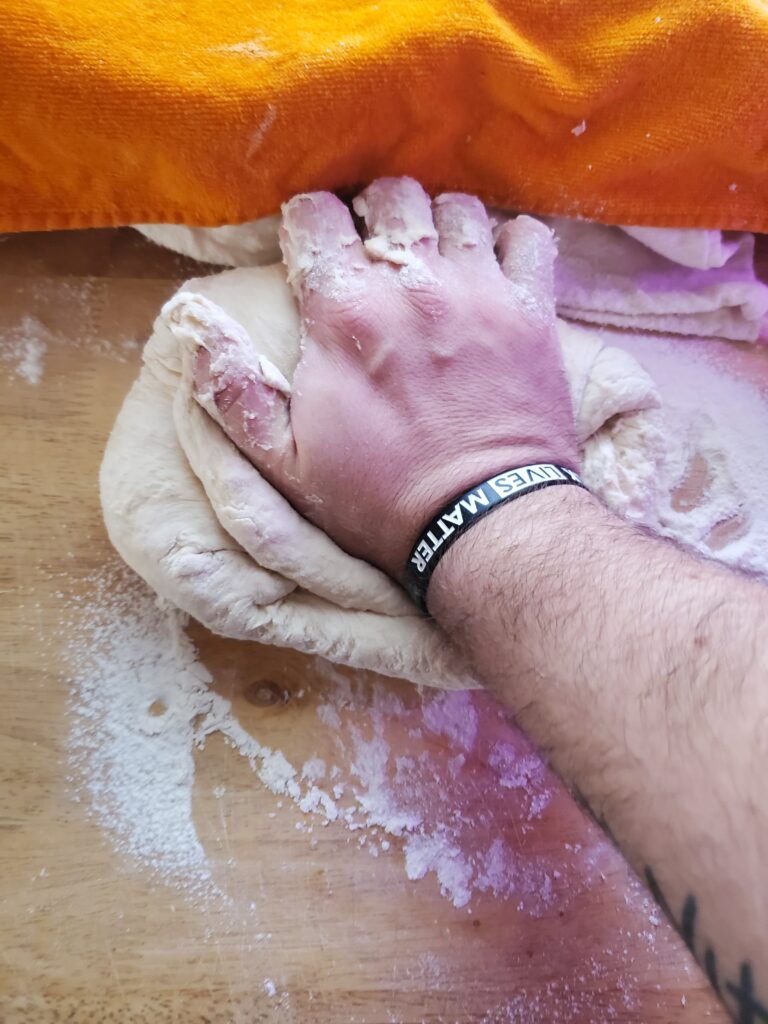
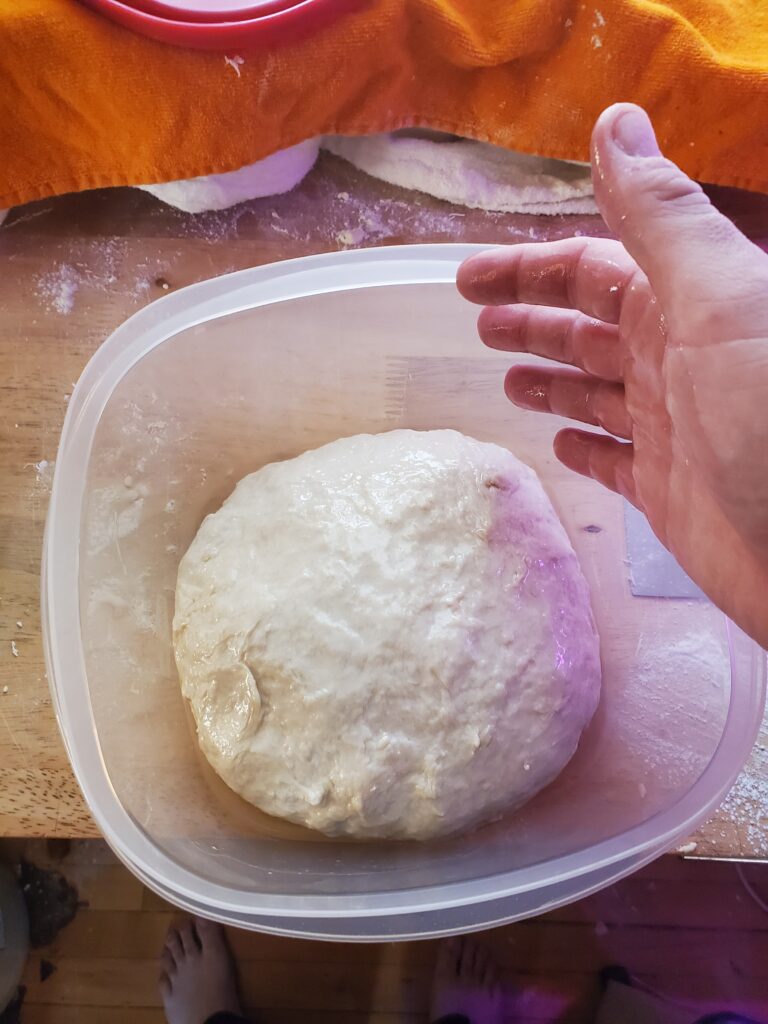
- After a few minutes, the dough will start to feel very elastic and the surface will become more smooth than lumpy. Congratulations, you now have pizza dough.
And that’s it! If you’re planning to use the dough that night, give it at least 20 minutes to rise before dividing. I find this batch is good for about 3 pizzas that fit comfortably in my oven. At 500ºf, a topped pizza will cook completely in 7-10 minutes. Once made, the dough can be kept in the fridge in a covered container for about 7 days, and will progressively become more flavorful other those 7 days.
I love this dough recipe because, with the scale, I can whip up the dough in about 10 minutes and be ready to give the kids a pizza night without having to budget extra time ANY night of the week! You can make a pretty decent faux focaccia if you don’t use it up fast enough by slapping some toppings on it and throwing it in the oven. Aren’t you fancy?